window.___gcfg = {lang: 'en-GB'};
(function() {
var po = document.createElement('script'); po.type = 'text/javascript'; po.async = true;
po.src = 'https://apis.google.com/js/plusone.js';
var s = document.getElementsByTagName('script')[0]; s.parentNode.insertBefore(po, s);
})();
INTRODUCTION
Mission 1 felt like a tutorial extension, but mission 2 is the real, cruel world. Unfortunately, this map could be very tough if the AI's scripted large armies turn aggressive too early. Fortunately, there is an easy way to avoid just that. However, there are still plenty of challenges in this mission. Neutral stacks in some areas could grow quite large. An optional mini-boss carries an army larger than those in Necropolis mission 4! The level cap at 17 is way too low.
Our Blood-Might Anton build should be quite complete in mission 2 already, with a bunch of useful passive perks plus Cleave and Resilience. Damages are mostly absorbed by the free reinforcement and avoided through guardian angels. The occasional hits can then be healed back by Vestals.
Dynasty Traits: how about "free first generic hero", +5 morale for a perfect victory, and +3 core creature growth. Some extra Marksmen and Vestals are always nice..
Haven Campaign Mission 2
Level cap: 17
Difficulty Index: 4/6
Last updated: November 24, 2011
WALKTHROUGH
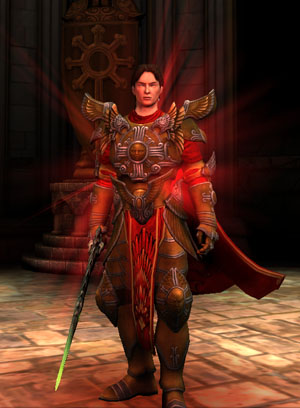
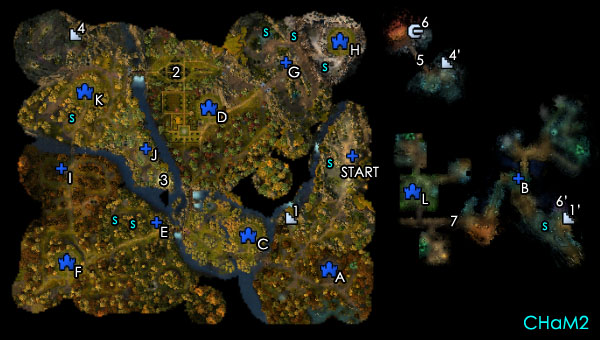
Anton starts in the east side of the map, with one Fort already in possession. However, a fort alone doesn't give anything good. We need some more units and a town quickly. There is a creature building and gold mine in the starting area that you should flag as soon as possible. You can also pick up a few friendly stacks. Skip everything else - we will come back here very soon.
Your urgent goal is to take Town A to the south before the end of Week 1 - the earlier the better. On your way to Town A, you should still flag a Sawmill, an Ore Pit, and pick up some other friendly units including the tier-6 Sun Riders. You can skip the mercenary Griffins to the west as they are too expensive for you right now. The enemy at Town A is quite weak during Week 1, but I read that after Week 1, this battle will turn very difficult.
After taking Town A, don't forget to convert the creature building to the northeast. Your budget will be very tight early on, even if you opt for cash in every chest. Therefore, get the +gold structures (upper level towns, market place) become a high priority. Try to go to Town level 4 in the next few weeks. The Sisters and Vestals will save your precious mana during most neutral encounters.
While you can already see a corner of your next town (Town C), it is really NOT a good time to take it, even if its defense is laughable. Taking Town C gives AI the green light to march scripted armies to you; however, if you leave Town C neutral, these scripted invasions stay dormant. At this early stage, your army is too small to face the invasions. You need some extra to develop first. Now is a good time to go back to the starting area and the township of Town A to kill/pick up everything. There is more than enough time.
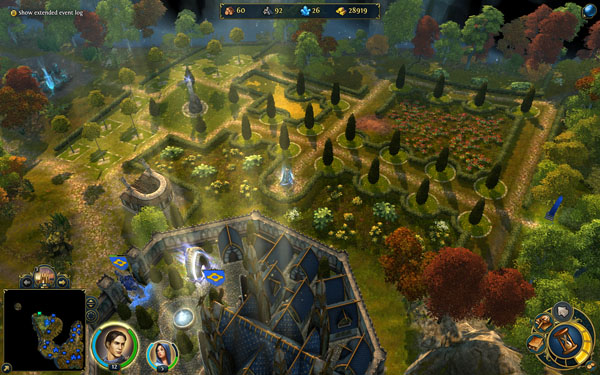
When there is nothing left to kill, head down the stairs at (1-1'). Your goal underground is to capture the Necropolis Fort B at the earliest but safest opportunity. This won't be an easy battle. In my game, I lost 20+ Vestals with 3 weeks of creatures. Then I tried this battle again with 4 weeks of creatures, plus a few additional combat boosts on the surface, and was able to pull off a nearly perfect victory. This pretty summarizes the entire Heroes6 campaign strategy. If we fight every mini-boss as soon as we can win (almost) perfectly, we will do just fine.
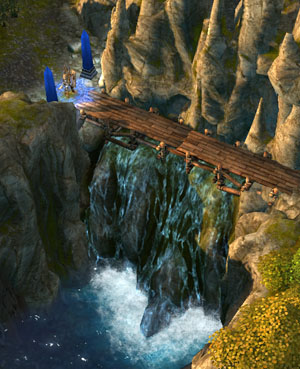
After taking Fort B, convert the Necropolis creature building to the northeast. Your underground base is completely safe. The gate to the next area at (7) is locked and will remain so until the very end of the mission. For now, we can take our sweet time to fight quite a number of neutral creatures in the caves. More resources!
When you again run out of things to do, load up as much army as you can, return to the surface, and finally take Town C. With all your resources, you should be able to quickly build it up. It is a good idea to build an Advanced Town Portal right here, because the AI has nowhere else to invade. Let's take a look at the grand strategy.
From here Anton has to defeat 3 rebel dukes, each hiding in a Haven town. The closest one to Town C should be Town D to the north, followed by Fort E and Town F to the west. Fort G and Town H sit behind Town D; Fort I, Fort J, and Town K (which houses the optional boss) are behind Town F. In my game, I saw an invasion from Town D just a few days after taking Town C. The alphabetical order of the towns and forts is the order of conquest I recommend, although it largely depends on when and where you are invaded by the next AI army.
After beating an invasion, you can launch a counterattack during the same week to take his/her hometown rather easily. An effective way to have a healthy supply of fresh recruits is to have a secondary hero ready in any Town that has all upgraded creature building. When the new week comes, hire everything and cast basic town portal to the town or fort closest to Anton.
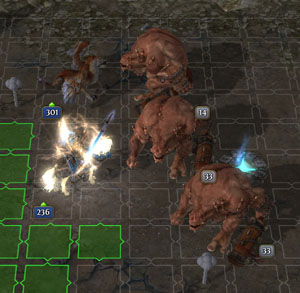
You will have the chance to earn a large number of Blood/Tear points upon capturing a Town. My Anton goes after the Blood path, and he was able to hire a free hero from the tavern for every duke he executed. These heroes don't have any ability points left to assign, unfortunately.
Northwest of Town D at (2), you can trigger a conversation with Anton's ancestor, but nothing else will happen. After taking Town D, F, and H, you can actually keep going west from (2) to finish the mission without fighting the optional boss in Town K.
The optional boss in Town K is all about army strength. While there won't be any additional heroes camped at the gate to negate your one-time combat bonuses, that garrison army is BIG! I looked at its army three weeks in a row and saw 1333, 1500, and 1662 Marksmen. This means that the army's growth is not really exponential, but rather fixed at ~160-170 Marksman per week. Most other stacks grow at a similar rate, too.
It is likely you are not quite ready for Town K yet. While you wait for your army strength to explode, you can visit stats boosts, which are marked by (s) as usual. You can also capture Fort I, Fort J, and their associated creature buildings. The side quest's Dynasty Weapon Heart Tending Song is located at (3), guarded by Celestials.
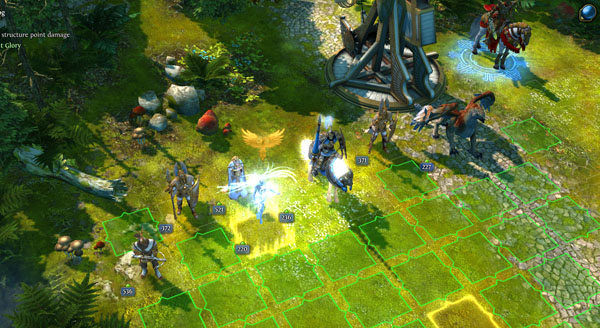
In my game, I finally mowed down Town K with an army containing 536 Marksman, while I found it still too tough just one week ago. Here are a few tips for winning the Town K fight:
(1) Arache level 4 (constant 15% Life Drain). It is unlikely you have it in mission 2, but if you do, this fight actually qualifies for "just another perfect victory". One exploit to quickly gain EXP with a Dynasty weapon is to save the game without the Dynasty Weapon equipped just before taking the third and final duke's town. Then equip it, use Quick combat earn some massive EXP, and load the game. I got my Arache to level 4 within an hour. You can certainly win without it (just don't expect a perfect victory).
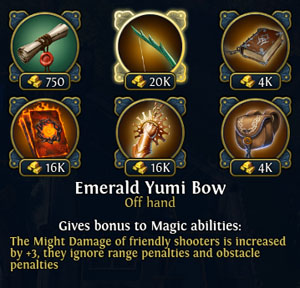
(2) Emerald Yumi Bow and some other top-quality artifacts to fill in your lacking slots. (Set artifacts are mostly of poor quality.) At this point, you should be so rich that you can build an Advanced Market in every town.
By the way, since the hero in Town K is completely passive, you can use some secondary hero to flag a creature building to its north, although I didn't notice any slowing of the garrison's expansion.
Taking Town K also give you a special reward - this is the only town where you can upgrade Glories. However, by now you should be so powerful that you are just going to crush every thing after this anyway.
No matter whether you want to fight the optional boss or not, the story continues. March Anton north, past Town K and enter the mountain path. Fight some creatures, collect artifacts, and enter the cave at (4-4').
Here Anton's mother gives him a series of trials at (5) and a sibling to fight, which are all really easy compared to other neutral stacks (especially if you have beaten Town K). After completing the trials, enter the portal at (6). You are now back to the Fort B region, in a dead-end (6') that at first looks like the developers forgot to put things there. Now you know this isn't gross negligence.
The gate at (7) is finally open! While you can fight more stacks on the way, there is no more set artifact to pick up. You can head straight to Town L to challenge the boss. In my game, the boss actually wondered off with his Trivial army (the biggest stack was 200 Archliches... poor guy) and was easily picked off by Anton seconds after he steps off his first base.
Read full article...

