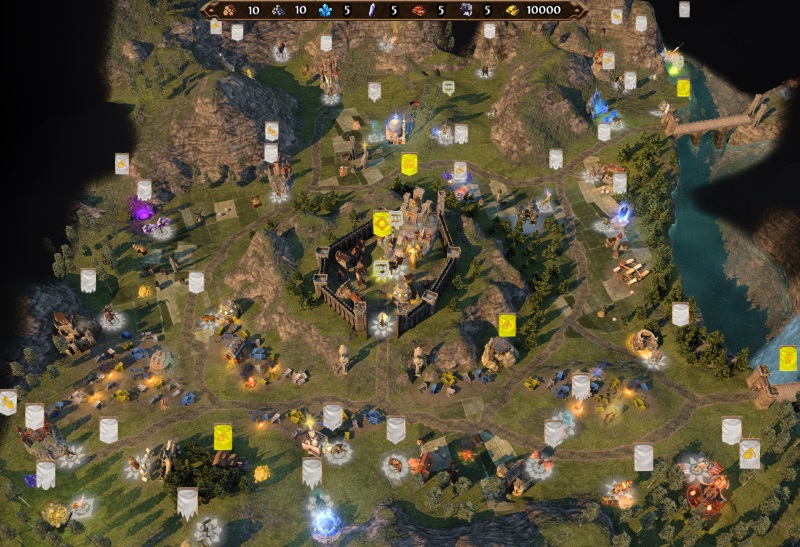
After talking to Jorgen, move underneath the structure you saw in the cutscene and head into the Underground. Don't cross the bridge, though, come back up when the river quest is done. There is also an obelisk to the north of your town. Anastasya is near, and she will join your cause. She should move to the mass grave just north of her position, and click it twice to get free creatures of the death persuation. After this, all you have to do is send her around fighting easy stacks of neutrals, and her army grows (as long as you don't lose too many).
Once you got your bearings and started clearing out the area, it's time to have a look at the quests. The main quest is to take the city of Horncrest and defeat Wilhelm there. A couple of turns into the map, a new hero (Andras) joins you, and his mission is basically to flag the 10 mines in the southeastern part of the map. The challenge here is troop conservation, as his armies do not grow like Anastasya's; nor can you get reinforcements from towns. If you waste troops, you won't be able to kill all the neutrals guarding the mines. It's hard, but Andras has lots of defence and pretty good in-combat warcries that you can use to their full potential. The centaurs in particular kick so much butt. I made a bold call and went for one of the hardest battles first - against the hero Cailean, because of the items he is guarding. Those really help. Another trick is the Altar of Arkath nearby; it opens a seal so that you can find creatures willing to join you. After the 10 mines have been flagged, move through the once-sealed passages to fire the catapults. You can take your time with this. Once he's done with that, have him move to the southern area (go west and then around the mountain), to find a big stack of neutrals who will join him. He can use that to punch through the garrison to the west when all the seals are open. Then he can move in on the enemy territories from the south. (Basically, he's so strong that you can use Andras to fight Wilhelm at this point, possibly even win the map, so if you're in a hurry to finish, I guess you can try just attacking Wilhelm with him).
In the area to the southeast of your first town, there is another mass grave for Anastasya, and several othe boosters and things. Use her to clean up there. The Altar of Elrath is also there, just north of the bridge. Visiting that enables you to pick up several free dragons for your army - one stack north of the northern bridge and one down in the southeastern section. It also allows Andras to punch through the garrison I mentioned.
East of your town is another town. Cross the northernmost bridge to find it, and then take it. There is also an obelisk right to the west of it. Once you have two towns, start building them for more creature growth. Do start fortifying too, as heroes will attack your eastern town regularly, popping out of a one-way portal nearby. You can just see it in this image, near the top left corner.
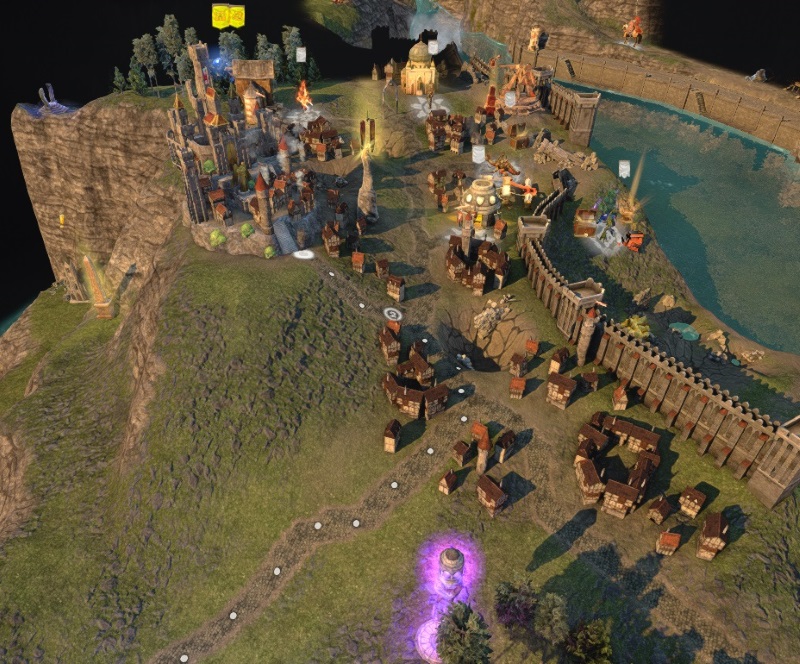
From this town, you can move north across a bridge. When you do, you can see the red pillar controlling the dyke. Move around the mountain and fight your way through neutrals and an enemy fort.
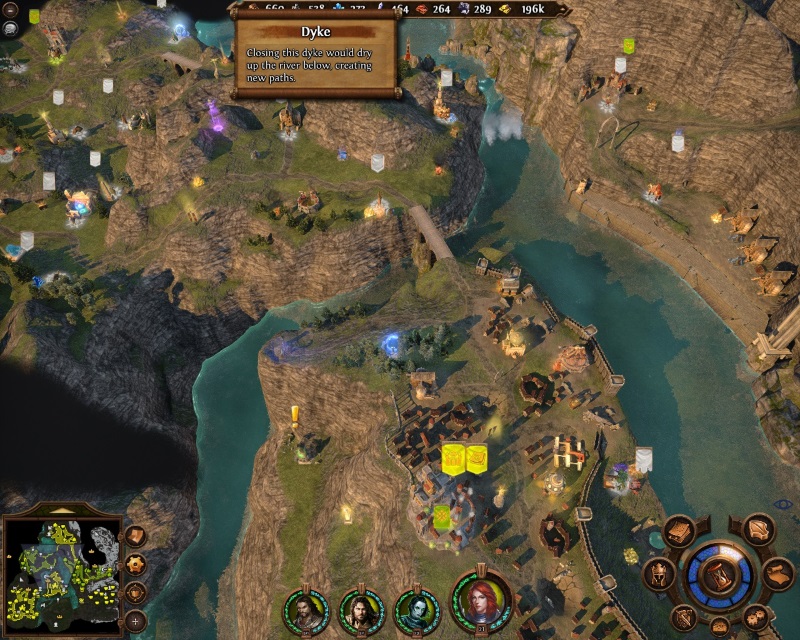
If you keep going north and west, there is another mass grave here for Annie to play with and complete her side quest. Go to the red pillar and manipulate it, lowering the river so you can ford it and get to the other side. This is one way to access the enemy's lands and open up for an attack on his main cities. Another way is that of Andras, and the other two are in the Underground:
When you have fortified both towns and have heroes with armies defending the eastern one, send Ivan into the Underground with a big army. Take on those hydras across the bridge. Then visit the Altar of Malassa.
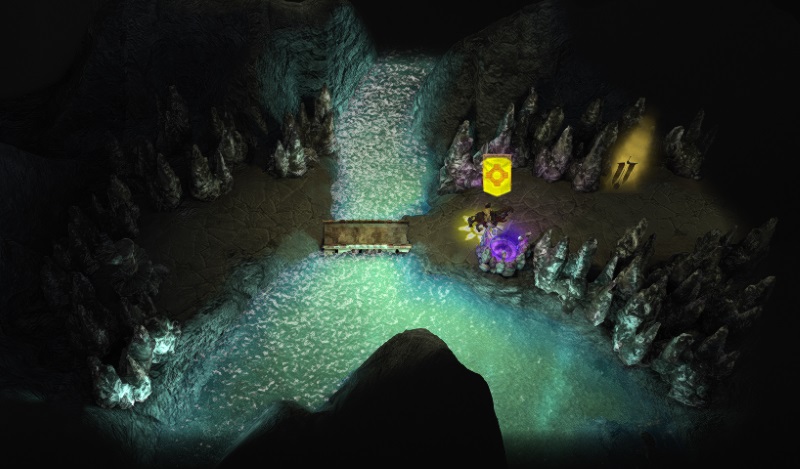
I was lucky here; there was a random effect this week that prevented any creatures from retaliating in battle (“week of cessation”). If you ever get one of those, act fast and go for the biggest battles you can. At this point I was fighting 3.000 skeletons at once down there, so a really big army was needed. I had Ivan lead the way and Anastasya tag along while another hero defended the eastern city. Take the Dragon Utopia and keep moving east. Follow the path until you meet the “blades”. Go through here and move upstairs, and you will come within striking distance of your enemy. Walk along a loooong windy winter path and you end up in the same place you would if you forded the river: at the gates of your enemy's town. Wilhelm sits right outside Horncrest:
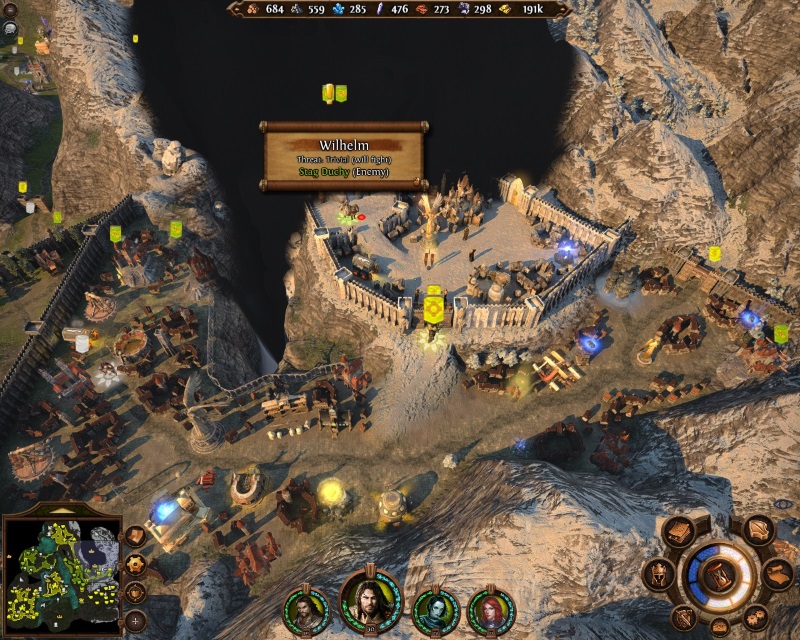
Andras can also access this area since, as you can see from the image above, there are several ways in. You could choose another path (or both) too: instead of going east near the underground utopia building, go west. When you move upstairs, open the seals and move south, getting free creatures and boosters along the way. Moving east, there is a fort you can take, and if you move south from there, you are once again in front of the enemy city of Horncrest. This is where you'll find Wilhelm, so go in and kill him and take the town. You now have three towns, yay. So where is Seamus?
Oh, he's around. There is a small gate in the eastern part of the courtyard outside Horncrest, and from there you can access the path north into the mountains.
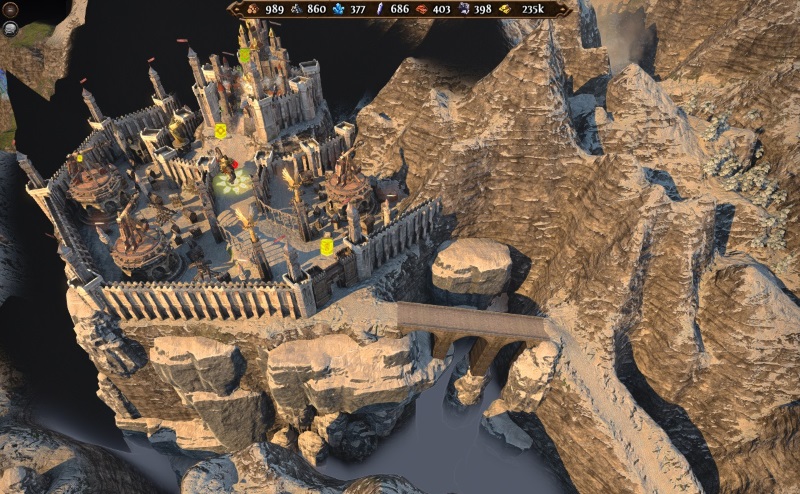
Seamus has a decent army and he's level 30 in a fully fortified town, so you can't walse in with just a half-dozen dragons, but at this point, I had 1600 marksmen, 2000 legionnaires, 450 abbots and hundreds and hundreds of other units, so he didn't really stand a chance. Basically, his numbers were in the hundreds and mine were in the thousands. Mr. S had no hope.
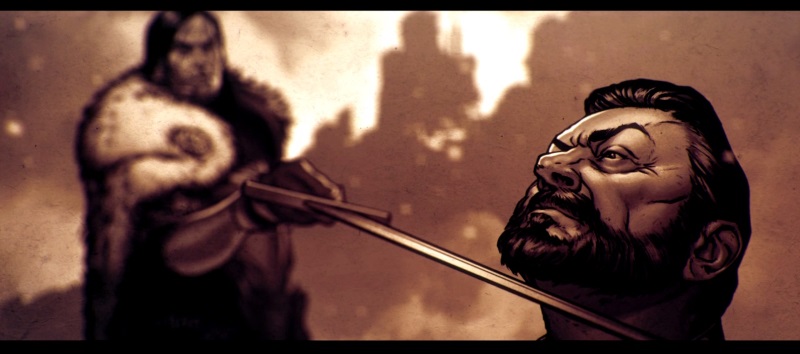
Once the battle is over, the map - and the game - ends. Ivan's story is one of a self-made man, who makes his own decisions and writes his own story. The councillors all gave their advice and as Ivan at last figured out: it was not up to any other factions or dragons to decide how the story would end. Just him.
Read full article...


