Importing and Using Brushes
by Wildbear
Importing brushes
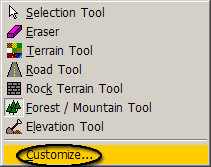
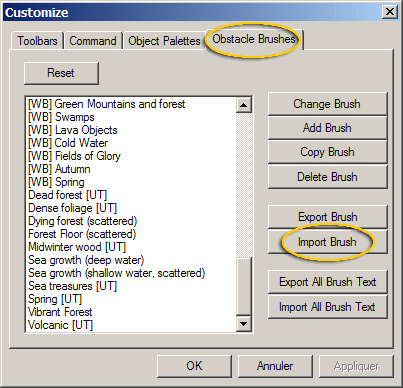
In the main menu, click Tools, then Customize... and finally Obstacle Brushes. Now click Import Brush.

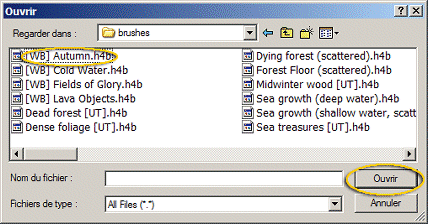
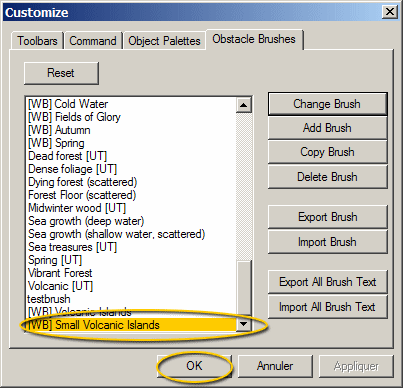
Select the directory where you unzipped the brushes, select a brush and click Open. There is no multiple brush import so you must repeat this step for all brushes.

-
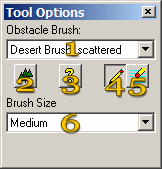
1 is the brushes list
2 is the Paint button. It is used to apply the brush. When it is grayed, you have to define an area on the map with the brush tool (4).
3 is the Info box of the brush. If there is no description you will see a blank message box.
4 is the Brush tool. Use it to define or add an area to cover with the brush.
5 is the Eraser tool. It allows you to remove a part of the defined area.
6 is the brush sizes list.
- 2-1 Fill the area you want to cover with the Extra-large brush.
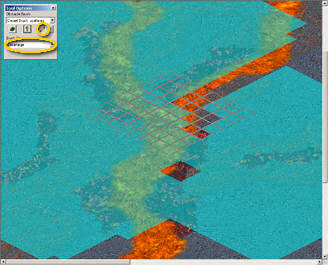

- 2-2 Now select the Medium brush size and the Eraser tool and refine the area. Repeat the operation with the small eraser. Refine once again with the small brush to give a random appearance.
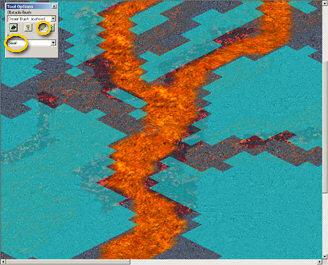
- 3-1 Select the Obstacle Brush you want in the list. If more than one brush is available for the terrain you want to fill you can try all of them. Select the first one and click the Paint button.
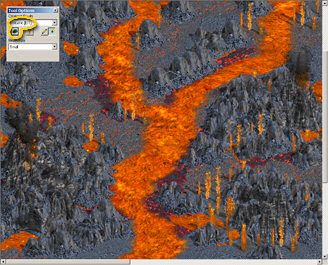
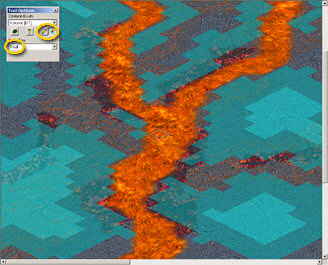
- 3-2 If you are not satisfied but want to keep this appearance click again on the Paint button. When the appearance fits your expectations the brush part of the work is done.
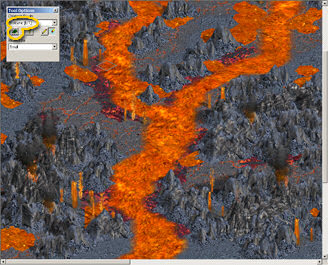
- 3-3 If you want to try something else select another brush in the list. When changing the brush it is better to undo all your painting steps with the Undo button until you see the teal areas again. Different brushes may have a different number of layers, and layers' depth may vary, so you may have to refine the areas again.

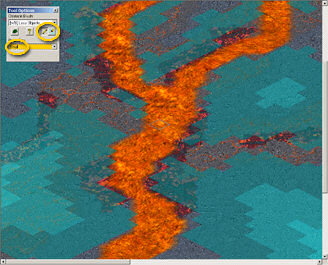
- 3-4 When it is done press the Paint button until you obtain the wanted result.
