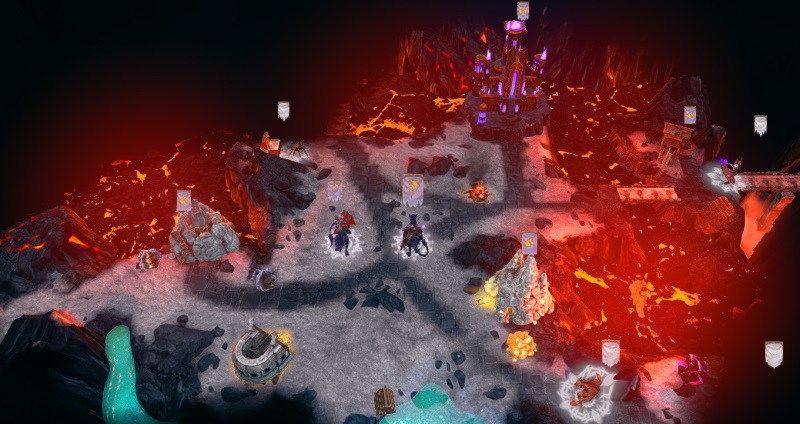
You start off with a single town in lava-covered surroundings, and I recommend getting a couple of extra heroes to do some of the legwork, because there is a lot of ground to cover andlots of stuff to pick up. Giving them the “snatch” ability from the Exploration skill is probably a good idea. Meanwhile, your main heroes can focus on gaining experience.
I don't want to say too much about what you should do, simply because there is no need. You have the whole Underground to yourself and the enemy don't seem keen on coming to visit you down there, so there's plenty of time to do your thing. That “thing” (main quest) is to find a secret entrance, but don't let that get in your way: Build your towns, grow your armies and boost your heroes. Explore the map and open up all the paths in the Underground. There are several portals opening up shortcuts for you, so that when you need to go somewhere you can just find it on the map, click it and the heroes will find the quickest way by using these portals.
A couple of things I will mention, though: Northeast of your town is another town, so you may want to go in that direction quickly. There are also a couple of forts and dwellings around, so grab those when you see them, but on the whole I guess running around the map while fighting the neutrals that aren't too strong for you (come back to fight the strong stacks later) is so easy that you don't need someone holding your hand through it. Just take your time and build.
Once you have cleared the Underground completely, it's time to head upstairs. As you may have caught a glimpse of the heroes up there already, make sure you bring a huge army. Once you go up the staircases, you may run into enemy heroes. You have the downstairs to yourself, it seems, but will run into strong opposition once you go upstairs. Hence the needed forces. I would urge you to continue building armies and send them up to support your hero. Just as an example, there's Wilhelm, who has a couple of dozen Landsknechts, Celestials, and several hundred Justicars, just to name some. Don't mess with these guys; they mean business. Thank Asha for the Town Portal, in case you need to escape. Make sure your heroes have that.
So, what's happening upstairs, aside from the increased resistance? Well, there are the obelisks. There are three, and you have to find them in order to complete the main quest. I'll tell you where they are; they're in the eastern part of the desert, organized neatly in a row in a north-south pattern. Check it out:
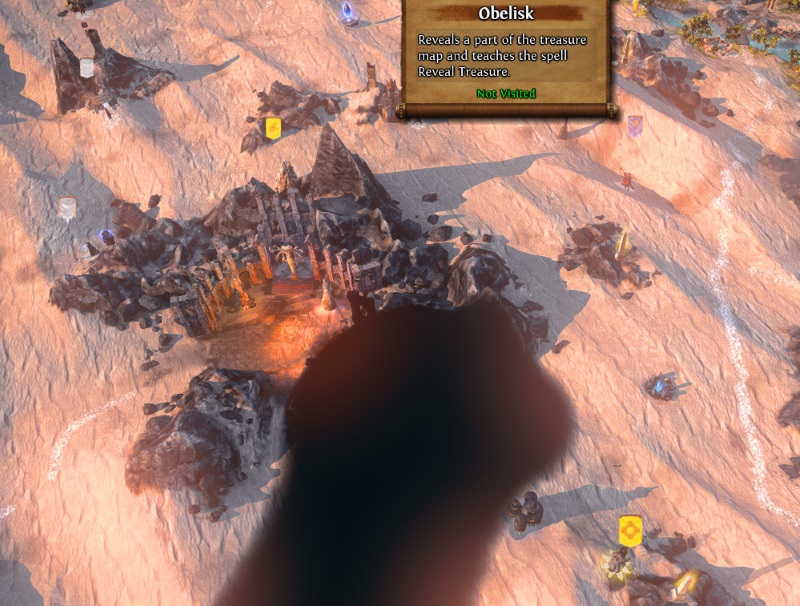
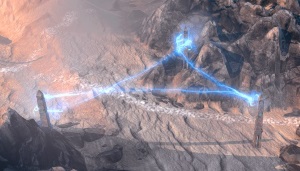 Once you have visited them all, go east through the tesla coil-like things and enter the bay. A small dialogue appears. Continue east. The one-way portal there leads to your second town, so that's nice to know. Another potential shortcut if you need it.
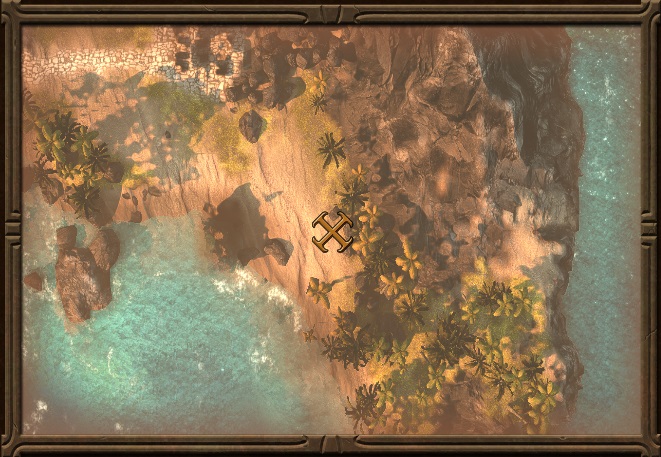
Check the treasure map and you will see that the Tear of Asha is just east of the Shipyard. Dig for it, grab it, and then buy a ship and head out to sea. Immediately to the southeast is an Altar of Shalassa, which you shall of course visit. Also pop by the Lighthouse for some extra sailing speed.
Sailing south, you will soon spot the Seal of Shalassa, and due west of that, a Den of Thieves, which is now on your to-do quest lists. There's another den to the west, and the last one is waaay in the north, so perhaps this would be a good time to portal home and build that Tear in the capital.
As you keep building your armies, you will eventually be strong enough to take on some of those topside heroes. Then you are a bit more free to roam around and look for those quest locations. When you have visited them all, you will be prompted to attack said enemy heroes ins specific locations, which is again not too difficult if you have already beaten them and still have a sizeable army. This is me going after them:
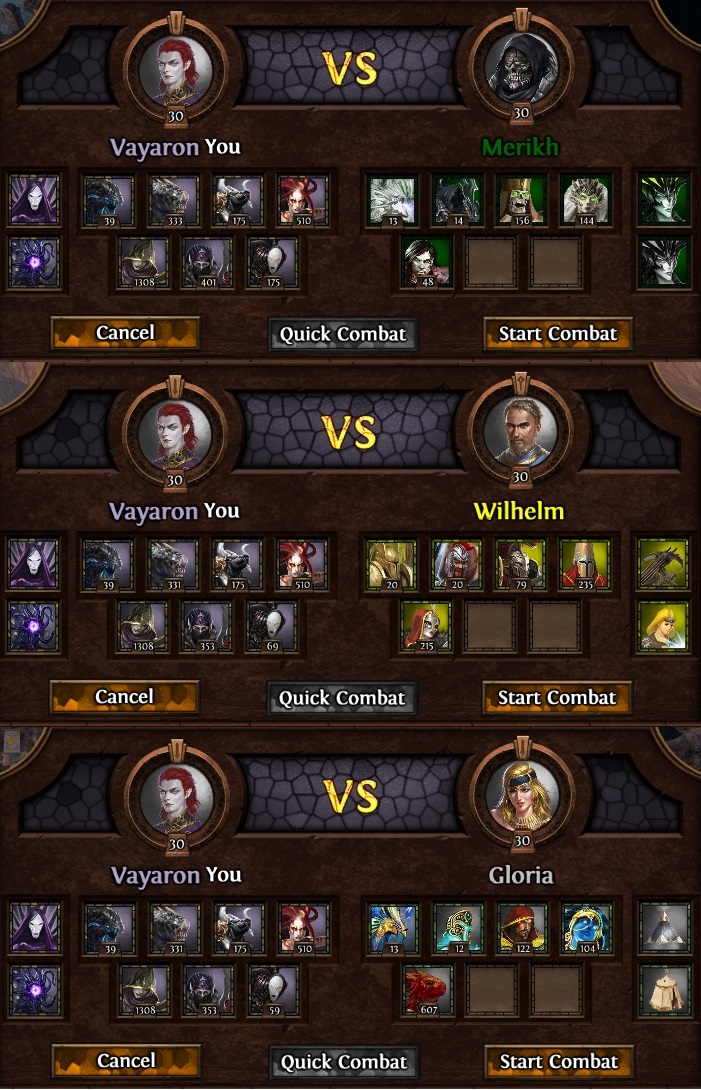
(I have to say: taking out a stack of 235 abbots in a single shot is really satisfying.)
So you're running around the map looking for these heroes, taking them out one by one with your huge army. Easy. Then: treachery! Oh well, Malwen is a buffed hero, but if your army is big enough you should still beat her too. Nice to see a bit of Hydra-on-Hydra action. Roarrr. Anyway, there is only this left: to kill all those heroes lurking about. Check the minimap for their locations if you can't find them.
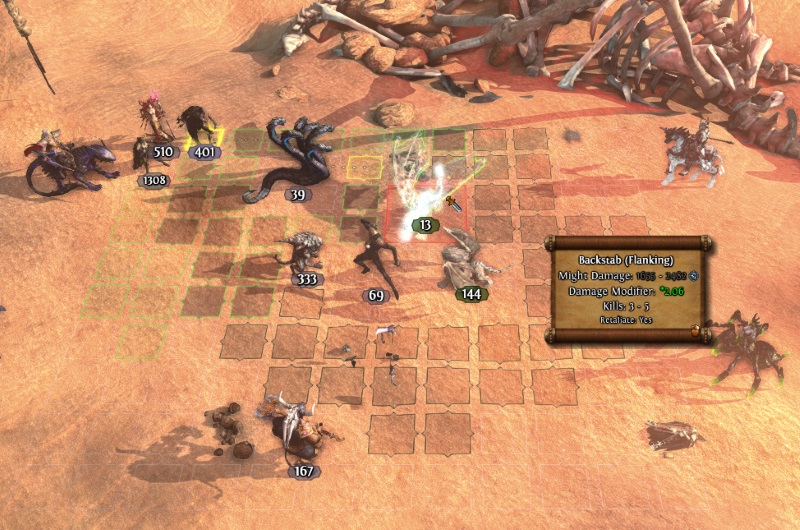
And that's the end of the Dungeon campaign. Time to sit back and listen to Jorgen's lesson.
Read full article...

