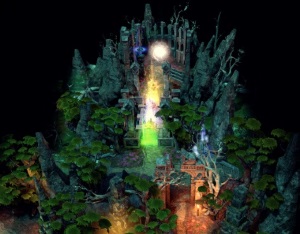
 This time, you start with Ludmilla and Charna who have been sent on a quest to retrieve the Deadwood Staff from some angels who have hidden it in their reliquary. It's not a head-on assult, this, that would be pretty suicidal. So... sneaky it is. Shall we go?
The way I see it, there are two ways of solving this map. What you're supposed to do is gain access to a portal, which is in the centre of the map. To get to it, first you have to visit several altars to unlock the seals. Once you're through, you are taken to another level and the mission is to sneak your way in with your heroes. I'm pretty sure you can do all of this (find the altars, unlock the seals, enter the portal, sneak into the angelic reliquary and run back out as fast as you can) the sneaky way, by running and dodging the roaming Sylvan heroes. You do have some difficult fights near the end, though. I, however, used a different approach: take the Sylvan towns, beat their heroes into submission and take control of the whole map... and then go through the portal. This walkthrough will therefore speak of that approach, but you're welcome to try the other.
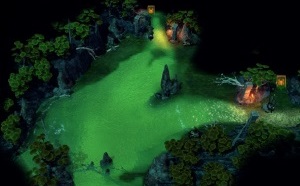 Anyway, let's get started. Start sailing and split up; one hero goes to the north and one to the east. Fight neutrals when you can (and pick up those who will join you), but try losing as few as possible. If you win, you might get some back through necromancy, but even then it's important to conserve your troops as reinforcements aren't readily forthcoming. Pick up resources too. Flotsam is not easily spotted, so keep an eye out. As you follow the coast to the north, an elf will spot you. Don't worry, no danger yet. As you keep moving east (you have to), you'll find a dwelling. Flag it. Keep exploring. As the path turns north again (meaning you can go no further east), you will come across the series of magical gates that need unlocking.
Quite close is the yellow player (the elf), and he will attack you if you get too close, so stay on the water when he's near. He's not far away, so instead of going ashore near these gates, continue westward on the water until you reach a whirlpool. Head on into it.
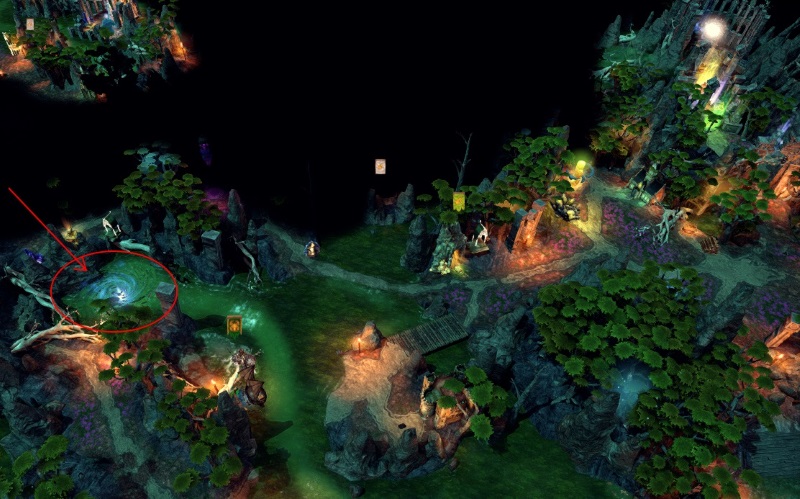
When you arrive on the other side, move west and presto! you find a town (Eldam). The downside? It's Sylvan. Oh, well, beggars can't be choosers and it does mean money; besides, you can level up your heroes in Diplomacy if morale becomes a problem for your Sylvan critters.
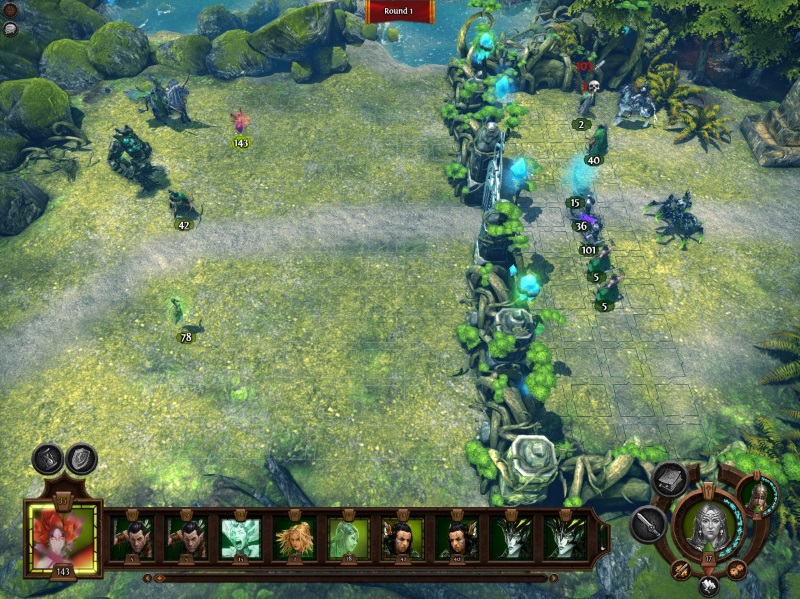
Shortly after you take the town (or before, if they spotted you), one of the yellow heroes will come for you. Run, Forrest, run. To the north of the town is the Altar of Sylanna, which opens up the green seal. Just east of that (and north of the Lighthouse) is another whirlpool which leads back to the locked gates. After I jumped in there, the Elven hero seemed to lose track of me, but I'd still keep a waking eye about. There is every chance that you could be ambushed. The way to deal with this threat is is build that town fast, and also to build a town portal in it so your heroes can escape by use of the recall spell if they should find themselves without a boat. There is another Sylvan town (Sinlad) in the centre of the map, but it's heavily guarded. No hero there, though, so I could pass without incident, and just west of it there is a sanctuary building. I popped in there when I saw the aggressive Jenova approaching.
The northern part of the map is interesting. In addition to a series of boosters, you will also find a second town (Damfail) which is guarded, but lightly, so you can take it. Ghosts are great for storming through city walls. There are also a few stacks of free creatures strewn about, so make sure you hold the cursor over all the creatures you see in case they'll wish to tag along.
When enemies attack your newly built towns (the northern one in particular seemed to attract them), there will be several challenging fights. You need as much fortification as you can muster; towers that shoot at the enemy; any creatures you can make available; any boosters outside the city that you can visit before the assault. A typical thing I noticed, though: if you enter the town, the enemy heroes are less likely to attack; they don't seem to want to assault a fully fortified town with the hero inside it. As the enemy approaches, you can also lure them to turn around and go for the other town instead, by having your hero leave that town. Suddenly they will see that a town behind them is without a hero, and turn away from the one that has one.
So let's say you manage, through quick building, fortifying and running away if needed, to keep hold of your two recently acquired towns. Then you should soon be able (as your army of Sylvan creatures grows) to take the centre town (Sinlad). When that is done, you can keep building and move towards the southeastern one. In the middle of all this, you're probably wondering «where the frak is that next altar!?» It's off the beaten track; far far east, here:
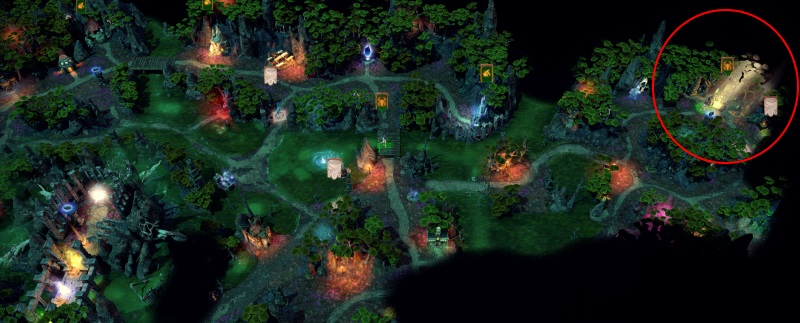
Just south of that altar is an elite dwelling and just southwest of that, an unbuilt town. Take. Keep going south. Keep going until you see snow. Head up the hill and find the last altar near the southeastern corner. Check it out:
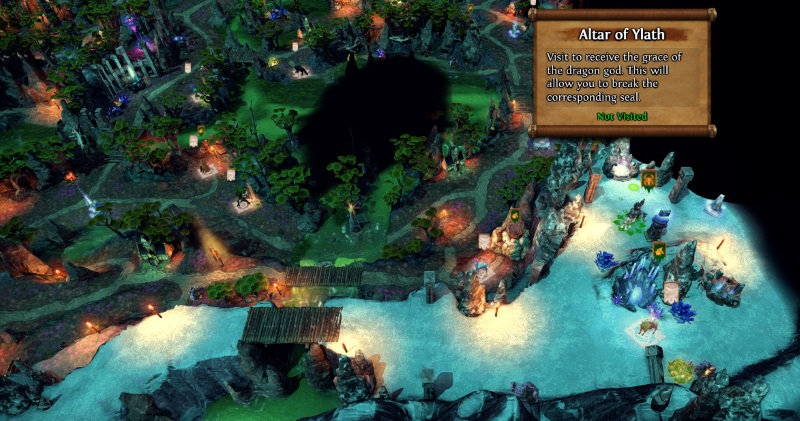
When you have visited them all, head to the gate system in the centre of the map. Bring both heroes and loooots of forces. You will find yourself in angelic, lofty surroundings.
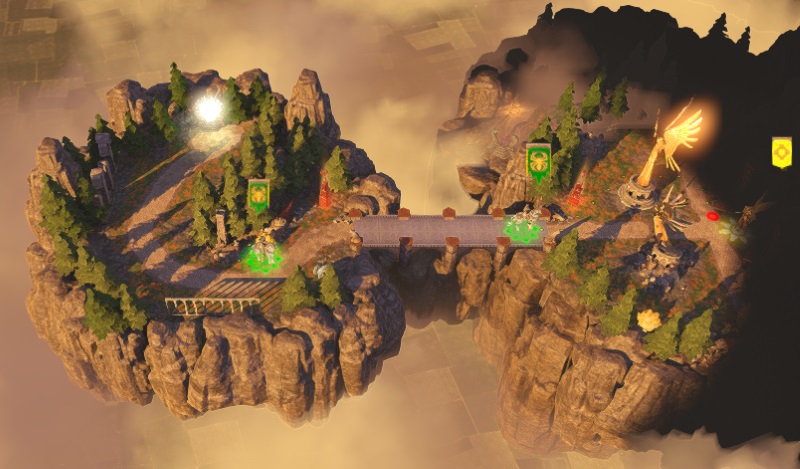
Looks lovely. Shall we knock on the door? Oh, there's an army guarding the gate. Chaaaarge! Easy. Still can't get in, though. Walk around to one of the sides of the castle. Hop through the spirit gate. Mop the floor with any armies you might find standing around, just for fun and experience points. That is, if you have the troops for it.
When you're ready to enter the building to find the Deadwood Staff, activate the Solar Sigil in front of the gate. You may notice that if you walk one hero up to the sigil, and then try to walk that same hero up to the gate, the gate shuts again. Well, you have two heroes, don't you? Send Ludmilla up to the gate and have the other activate the sigil. It has to be Ludmilla who enters the vault and steals the staff, so give her your strong army and walk up to the gate. Charna can activate the Sigil. When Ludmilla enters the vault, alarms sound. All gates are shut. Angels are coming fast. How to get out? Have Ludmilla walk around to the big wooden gates and activate the banner next to them. That staff sure packs a punch. Go through both doors, fight the neutral army next to the sigil for the front gate, activate said sigil and the front gate is open to you. Run to the portal that brought you to this level; if you're fast enough, you may not have to fight anything at all.
Once you escape, the map is completed.
Read full article...


